Sunday, November 28, 2010

Emergency Chocolate

After the holidays, you must - absolutely must! - keep Emergency Chocolate on hand.  You will need it after you've eaten your self-denying, healthy dinner.  You will crave just a taste of that decadent goodness that came so naturally with the mass quantities of holiday treats you just consumed.

Here's how it happened for me.

Sensible dinner.  Egg white breakfast burrito for dinner (we had very little to work with, okay?).

Two hours later, I'm getting a hankering for something extravagant.

A quick search of the cupboards (even my special hiding place on the lazy Susan) and my bookcase (don't ask, it's a weird thing) reveals that we have no special chocolate treats.

Then I remember.  The best chocolate ever.  The kind of chocolate I would give as a gift, it's so good.


Truffettes de France.

But I bought them at Trader Joe's.  You open them and inside are not one, but two, golden bags filled with truffles just the right size.


I ripped the bag I was so excited.


Forgive me for the slightly blurry picture.  I was half-crazed at this point.

The chocolate.  How can I even describe it?  The cocoa powder hits your tongue just a tiny bit bitter, but the truffle immediately begins to soften in your mouth.  The cocoa melts into the semi-sweet chocolate.  Roll it around in your mouth.  Delicious.  It melts.  Heavenly.

So delicious you could give them away.  But so delicious you won't want to.  Oh what a dilemma.


Wednesday, November 24, 2010

Peanut Butter-Stuffed Milk Chocolate Sandwich Cookies

This was a recipe I tore out of an old Everyday with Rachael Ray magazine, so it's gotta be good!  I'm making these for Thanksgiving because my grandpa loooooves peanut butter and my husband looooooves chocolate.  It's a twofer.


You just need the usual cooking suspects.  I'll buy the generic brand of almost every ingredient I need, including spices (which some would say is very bad, for lack of a better word).  But I draw the line at vanilla.  Buy the good stuff.  I like Red Rooster Mexican vanilla (pictured), available at any fine grocer's establishment.

You'll need three bowls for this recipe.  Yes, it's a pain.  But it's true.  Although I suppose you could cheat and not mix the flour in the small bowl...

In your largest bowl, put 1/2 c. white sugar, two room-temperature eggs, and 1 tsp. vanilla.


Using your hand mixer, beat on high until thickened and fluffy, about five minutes.  You won't believe the transformation.  And you'll be so glad you don't have to do it by hand.

From this:


To this:


Then, put your 2 1/2 cups milk chocolate chips in a bowl with 2 Tbsp. room-temperature butter.  Microwave until partly melted.


Stir gently to finish melting it all together.  Delicious if you want to taste just a tiny bit...


Put your chocolate mixture into your egg/sugar mixture.


Mix on medium until well blended.


Then add (theoretically, you would first put the following ingredients in their own small bowl and whisk them together!) 1/4 cup plus 2 Tbsp. flour, 1 tsp. baking powder and 1/2 teaspoon salt.


Mix until well blended; stick the batter in the fridge so it's easy to scoop onto your baking sheets.

Line 2 baking sheets with parchment paper (important!  don't skip the parchment paper!  it will keep the cookies from sticking!) and drop dough onto sheets - 12 drops per sheet.


It's a thick batter, almost fudgy.  And delicious, too, though it's not recommended you eat it because it has raw eggs.

Bake at 350 for 15 minutes, turning baking sheet halfway through cooking time.  When mine were done, I gently lifted the parchment paper from the baking sheet, and then started removing the cookies.


Yummmmm... but I can't eat any because then I won't have enough for the fam....  Oh the sacrifice!

Now you can start mixing your peanut butter stuffing.  I messed up this step.  You're supposed to blend together the butter and peanut butter, then add the powdered sugar.  But I got all excited about sifting...


And I have to say, it worked anyway.  Doesn't that look pretty?


Then blend on high until light and fluffy.  PS, I'd do this in your largest bowl, too, since powdered sugar likes to drift up!


Wait until your milk chocolate cookies are completely cooled, then frost them.


Perfection.

Dippy Dip... A Secret Family Recipe

We've kept it a secret because it's so simple, it makes us appear simple.  I'll share it with you anyway, in the name of the web's basically-faceless anonymity.  Don't tell anyone where you found it.  I might be disowned for sharing!


Three ingredients.

8 oz. cream cheese, softened
8 oz. sour cream with chives
1 pkg. Ranch dip mix


Combine these three ingredients in a large bowl.  Large bowl.  Because your weapon of choice is the electric hand mixer, and it can get a little wild.


I used a medium bowl, and it was only through diligent application of my trusty mixer that I kept it all in the bowl.


That's it.  You've got your Dippy Dip.  You'll never buy dip from the store again.


Refrigerate for at least one hour before serving.  If you have leftovers, you're lucky.  It tastes even better the next day.

Serve with veggies and your kids (or your picky husband) will get their 5 servings for the day, no problem.  I've also used leftover Dippy Dip in twice-baked potatoes - yum!

Remember, tell NO ONE where you got this recipe.

Cranberry-Cilantro Salsa

Here it is...  the cranberry recipe you've been waiting for!  Well, at least, I've been waiting for it.

It's so simple.  And you don't have to measure out much of anything.  Here's what you need:


Your weapon of choice will be the food processor.

Rinse your cranberries.  Rinse your green onions, chop them in 3" pieces; rinse your cilantro and roughly chop it. Seed and finely chop the jalapeno.  Dump all that into the food processor.

Add 3/4 c. white sugar, the juice of 2 limes, and a pinch of salt.

Halfway through my chopping and dumping, I was afraid it wouldn't all fit.


But it did.


Now enjoy those beautiful, fresh colors, because as soon as you start processing, they will become blurred and muddy.


But delicious.  Serve with tortilla chips.  Serve on turkey tacos.  Serve on biscuits.  Serve with eggs?  Maybe.  I don't know about that one.  But you get the point.  This Cranberry-Cilantro Salsa will make anything better.


Cheddar and Green Chili Cheese Ball

This is the first recipe I tackled in my Thanksgiving preparations.  This decision was based on careful study of my recipes.  I did this because on Sunday, I didn't read them well at all and faced near-disaster before our church potluck.  Not the time you want to present a failed dish, not when friends are asking "which one's yours?"

This is a pretty typical cheese ball, based on what I know of cheese balls.  Go for this one if you love cheddar, I guess.  Here's what you need:


Your weapon of choice for this recipe is the food processor.  This recipe is so easy!

Put the following into the food processor:  2 tablespoons butter, 2 cups shredded cheddar, 8 ounces cream cheese (I'd recommend softening it a bit first; you will see why later), 1/8 tsp. onion powder and 1/8 tsp. garlic powder.


Process until it's all mixed together well.  Here's where I ran into a small snag and had to do some work with the wooden spoon.  My cheese mixture started to form a ball in the food processor.  Not what you want to happen!


Cooking is often not simple for me.  Yet I love it anyway.  In much the same way, I love tennis, Scrabble and Acquire, yet never win them.  I haven't delved too deeply into the psychology of this.

Anyway, finish processing until you've got a smooth cheese mixture.  Then, transfer it to a bowl that you can chill it in.

Add one 4 ounce can diced green chilies, juice and all.  The original recipe only called for 2/3 of a 4-oz can, which I don't like.  So I used to whole can.


Stir together to mix well.  It's easier than it looks.


Cover with plastic wrap and stick in the fridge to chill for an hour.  It looks kind of disgusting now, but that's why we'll roll it in Doritos and cilantro!

You'll need 1/2 cup of Doritos, crushed, and 1 Tablespoon of chopped cilantro.

Overkill?  Perhaps.


Effective?  Definitely.


Now here comes the tricky part.  I'm just killing time, looking for a way to do this without getting my hands really, really dirty.


It's not possible.  I'm goin' in.  Form the still gross- looking cheese mixture into a ball or log or square, whatever your little heart desires. Then set it in the chips/cilantro mix.


Although this small round dish looked nice for the picture, it did make really rolling the cheese ball difficult.  I'd suggest using something without sides.

And here is your final product, the Cheddar and Green Chili Cheese Ball...


To store it and travel with it, get a properly-sized plastic container.  Put wax paper on the lid, put the cheese ball on the wax paper, and top it with what is usually the bottom of the container.  A picture is worth a thousand words in this instance.


This way you can arrive at the party or the meal or wherever you're going, and re-plate this gorgeous cheese ball on a platter more befitting its deliciousness.

The Day Before Thanksgiving: Preparations

I'm that slightly nutty person who really enjoys the crazy hours of preparation before a holiday.  This could be explained for a couple reasons.

1.  I don't have kids yet.

2.  The holiday festivities aren't taking place at my house.

Regardless, I took the day off work and am preparing as if it were my last Thanksgiving.  Being held at my house.  Although it's not.

I'm washing sheets, cleaning bathrooms, making food...  The cleaning is really being done because it's long past due, if I'm being honest here.

And tonight J and I are going to decorate our Christmas tree!  Talk about holiday jumping.

On my recipe list (because I'm not, definitely not, going to show you before-and-after pictures of my bathroom floors or toilets.

Cranberry Salsa.  And it better be good.  You know I've been anticipating this for at least a week.

Cheddar and Green Chili Cheese Ball.  I know this is good.  Cheddar, green chilies, Doritos, what's not to love?

Dippy Dip.  Family recipe.  It's a hit.  And it makes raw veggies very alluring.

Peanut Butter-Stuffed Milk Chocolate Sandwich Cookies.  Might have to rename those.  New recipe!

Pumpkin Swirl Cheesecake.  New recipe!  Labor intensive, but it looks like it will be worth it.

Wish me luck.

Saturday, November 20, 2010

Let the Cat in the Bag

Give a cat a brown paper sack and he will amuse himself for hours.

Or at least fifteen minutes, and then he'll race around the house feeling quite brave and daring for the next fifteen.


Can you tell he felt dangerous?

The bag is now lying ripped on the kitchen floor.  Right by the two pairs of tennis shoes and the assorted grass, dirt and dust bunnies.  I should probably work on removing all of them...

Pumpkin Scones... with an edge of spiciness!

This is the first-ever Nigella Lawson recipe I've tried!  I did not alter the recipe one bit from the way I found it in Better Homes and Gardens' October 2010 issue.

I've never had sorta spicy pumpkin scones, so I wanted to try these.  She suggests serving them warm, with a little butter.  I'm taking them to church on Sunday, so I hope they're also good warm temperature, without butter.

I should tell you, they remind me of moist, puffy Cheez-Its.  Just a little bit.  Hope that's not a personal affront to a Nigella.  They really are good.

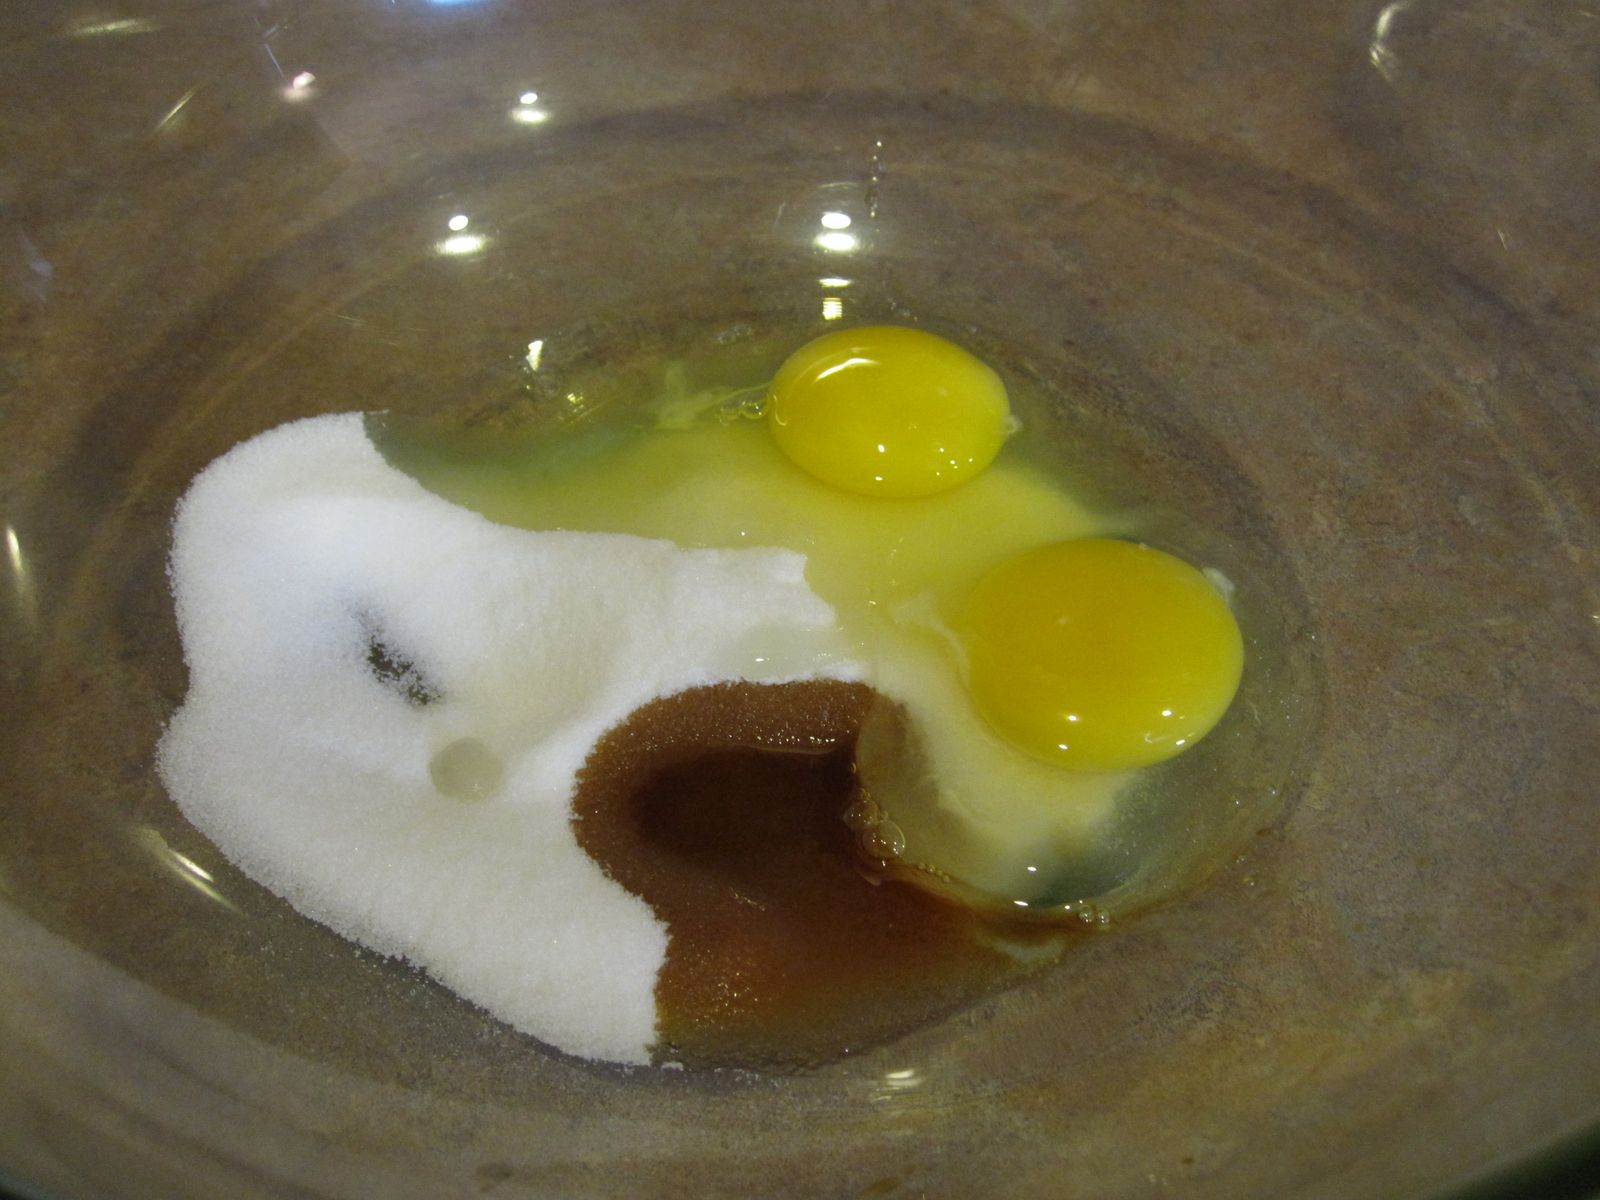
First, melt the butter.  Then, add to it the pumpkin, the Parmesan cheese, egg, Worcestershire sauce, salt, black pepper (to taste - agh! who knows?!  I used 3/4 tsp. for a triple recipe) and chili-flavored oil.


Stir until it's evenly combined.  Here's where you can taste it to see if you did ok with your pepper or if you overdid it.  If you overdid it, I have only one suggestion and it's completely my own so it might not work:  add more pumpkin.

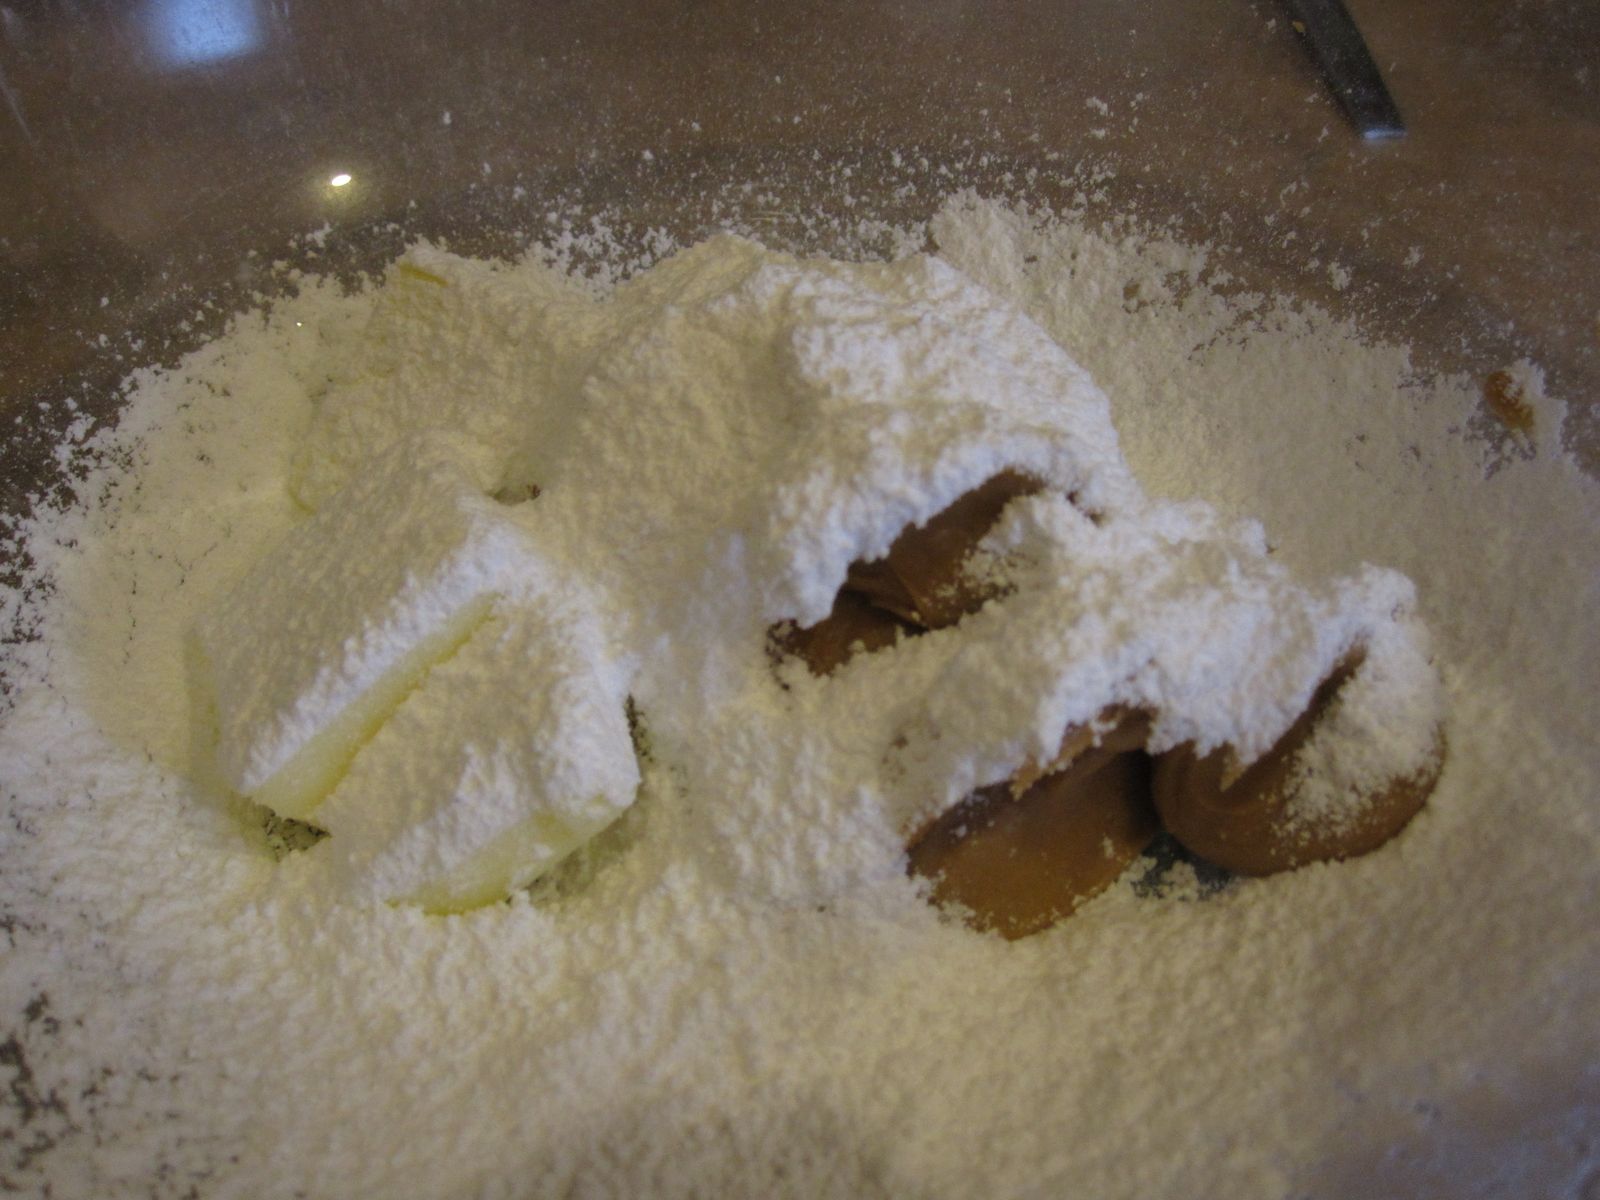
Then, combine your flour, baking powder and baking soda.


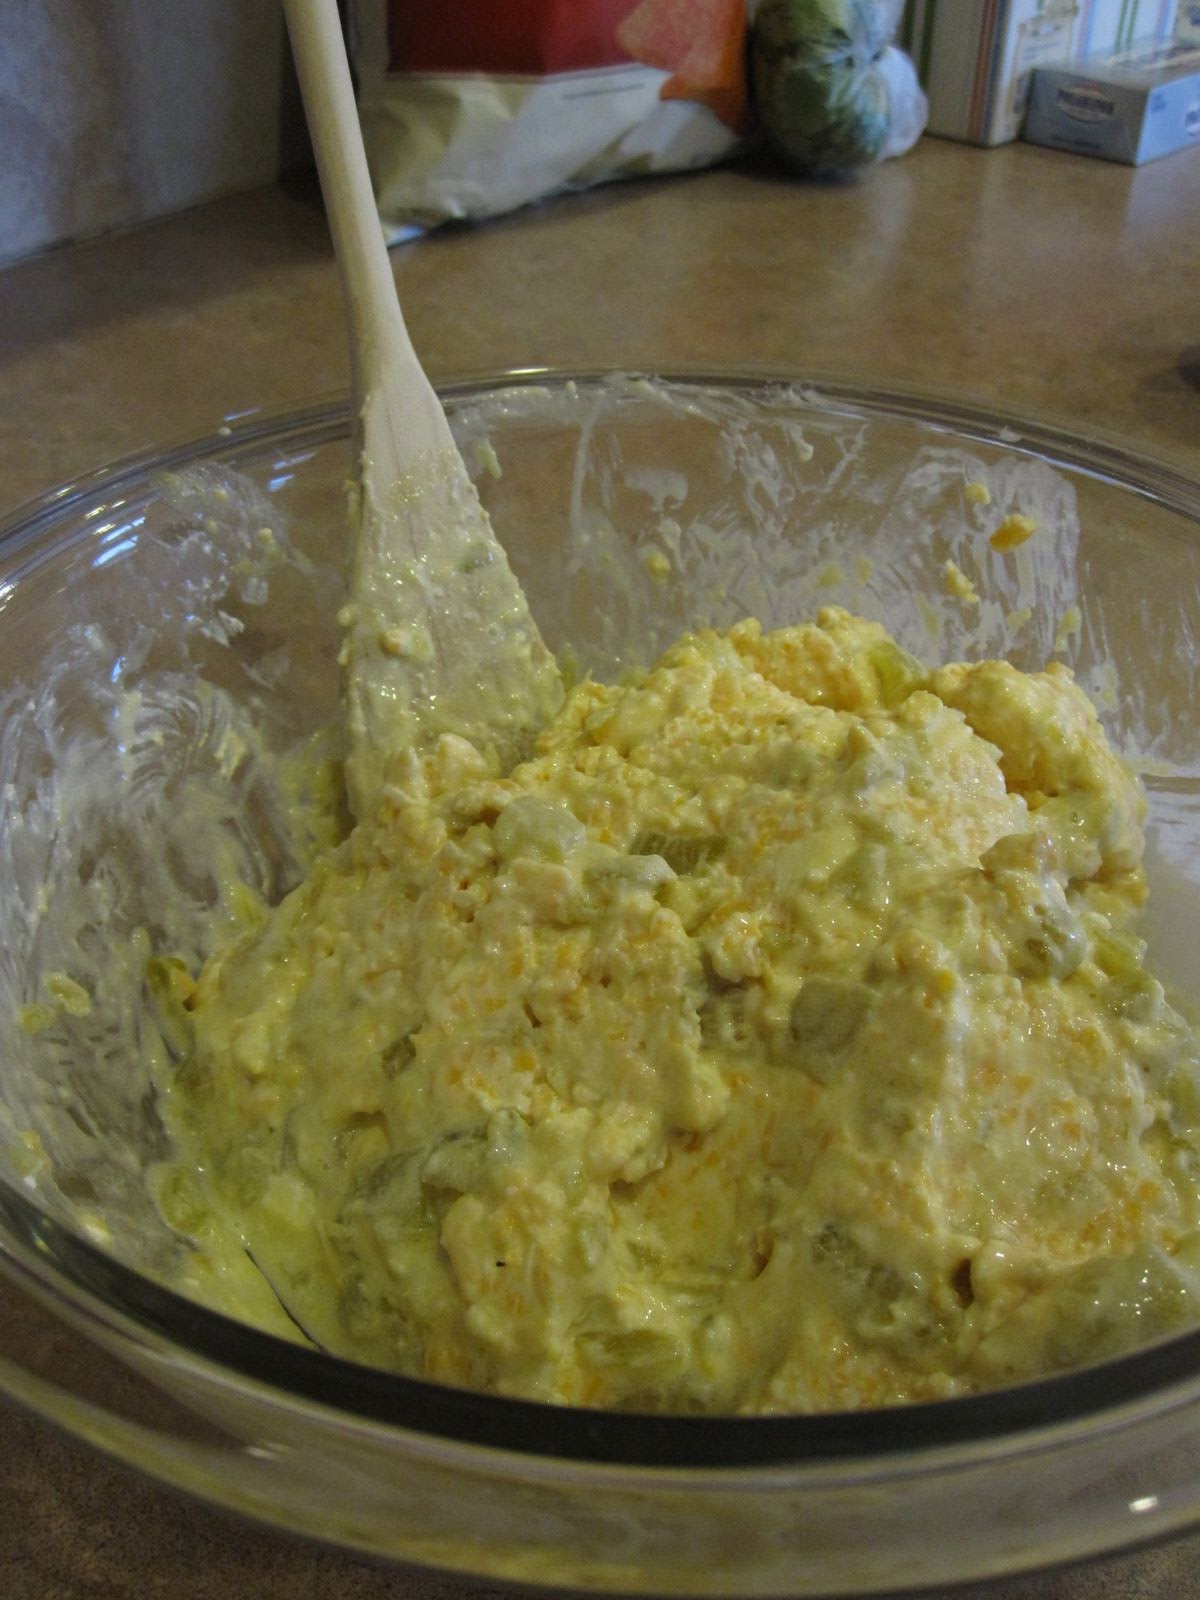
Fold the flour mixture into the pumpkin mixture.  The going could get a little rough, so make sure you're feeling strong.


It looks so bakerly, doesn't it.


This is what you're going to love!  No kneading, no rolling.  Just flour a surface and dump your dough onto it.


Pat it into a 1" high oval and commence with your biscuit cutter (or 2" glass).


You know the drill.  Start at the outsides.


Line these puppies up on ungreased baking sheets and bake at 400 degrees for 15 minutes, until light golden brown.  They will puff up, not out much, so just make sure you give them about an inch breathing space.


Brush the tops with milk to give them a little glaze.


And lookie here, you have big Cheez- I mean, Pumpkin Scones!  Delicious with coffee or milk!


I tripled the recipe to feed a crowd, but here's the single-recipe (makes 12 scones) version.

Pumpkin Scones
by Nigella Lawson in BHG October 2010

3/4 c. canned pumpkin puree
1/2 c. grated Parmesan cheese
1/4 c. butter, melted
1 egg
1 tsp. Worcestershire sauce
1/2 tsp. salt
ground white pepper or black pepper, to taste
2 tsp. chili-flavored oil
1 2/3 c. all-purpose flour
2 1/2 tsp. baking powder
1/2 tsp. baking soda
milk

1. Preheat oven to 400 degrees.  In a large bowl combine the pumpkin puree, Parmesan, melted butter, egg, Worcestershire sauce, salt and pepper, and chili oil.  Stir well to mix.
2. In another bowl, combine flour, baking powder and baking soda. Fold into pumpkin mixture and stir until just combined into a dough.
3. Turn dough out onto a lightly floured work surface.  Pat to 1" thick oval.
4. Cut dough into scones using a round 2" biscuit cutter dipped in flour. Place scones 1" apart on ungreased cookie sheet.  Reform dough and repeat.  You should get 12 scones.
5. Brush tops of scones with milk to glaze.  Bake for 15 minutes or until golden.  Cool slightly.  Eat warm with butter if desired.
For directions on freezing dough or baked scones, just head over to the BHG website.  This retyping information feels too much like secretarial work for a Saturday!