Why Cranberry Nut Bread? Well, I love it, for one. Also, it's delicious. It's easy. I had a bag of cranberries about to reach the end of their shelf life.
So I washed those cranberries and picked out the nasties and discovered I had enough to triple my recipe (which is supposed to make one loaf). Perfect. Enough to share and maybe even have some leftovers to enjoy.

I'll just give you the recipe right up front, so you can skip through my guessing and later mishaps if you like.
Cranberry Nut Bread
2 c. flour
1 c. sugar
1 1/2 tsp. baking powder
1/2 tsp. baking soda
1 tsp. salt
1 tsp. grated orange peel (fresh or dried)
3/4 c. orange juice
1/4 c. vegetable oil (or apple juice)
1 egg, beaten
1 c. fresh cranberries
1/2 c. nuts (optional; pecans suggested)
Mix all dry ingredients together. Add the rest and mix well. Move into 1 loaf pan. Bake at 350 for 1 hour.
Well, here are my ingredients before mixing. The cranberries just swimming in orange juice. Delightful!

For the second time in a week, I had a blowout while crunching up my pecans. Blew a hole right out one end of the baggie. You'd think I would have learned the last time: remove all air from bag before striking with meat mallet.

No. Instead, I bravely closed the gap with my fingers and trusted my striking hand.
The final dough looks much like any other dough. It's quite tasty. Salty. Don't test it unless you used pasteurized eggs like I did (wink wink).

So here I was, with a very large bowl of dough just waiting for baking dishes. I pulled out a few.

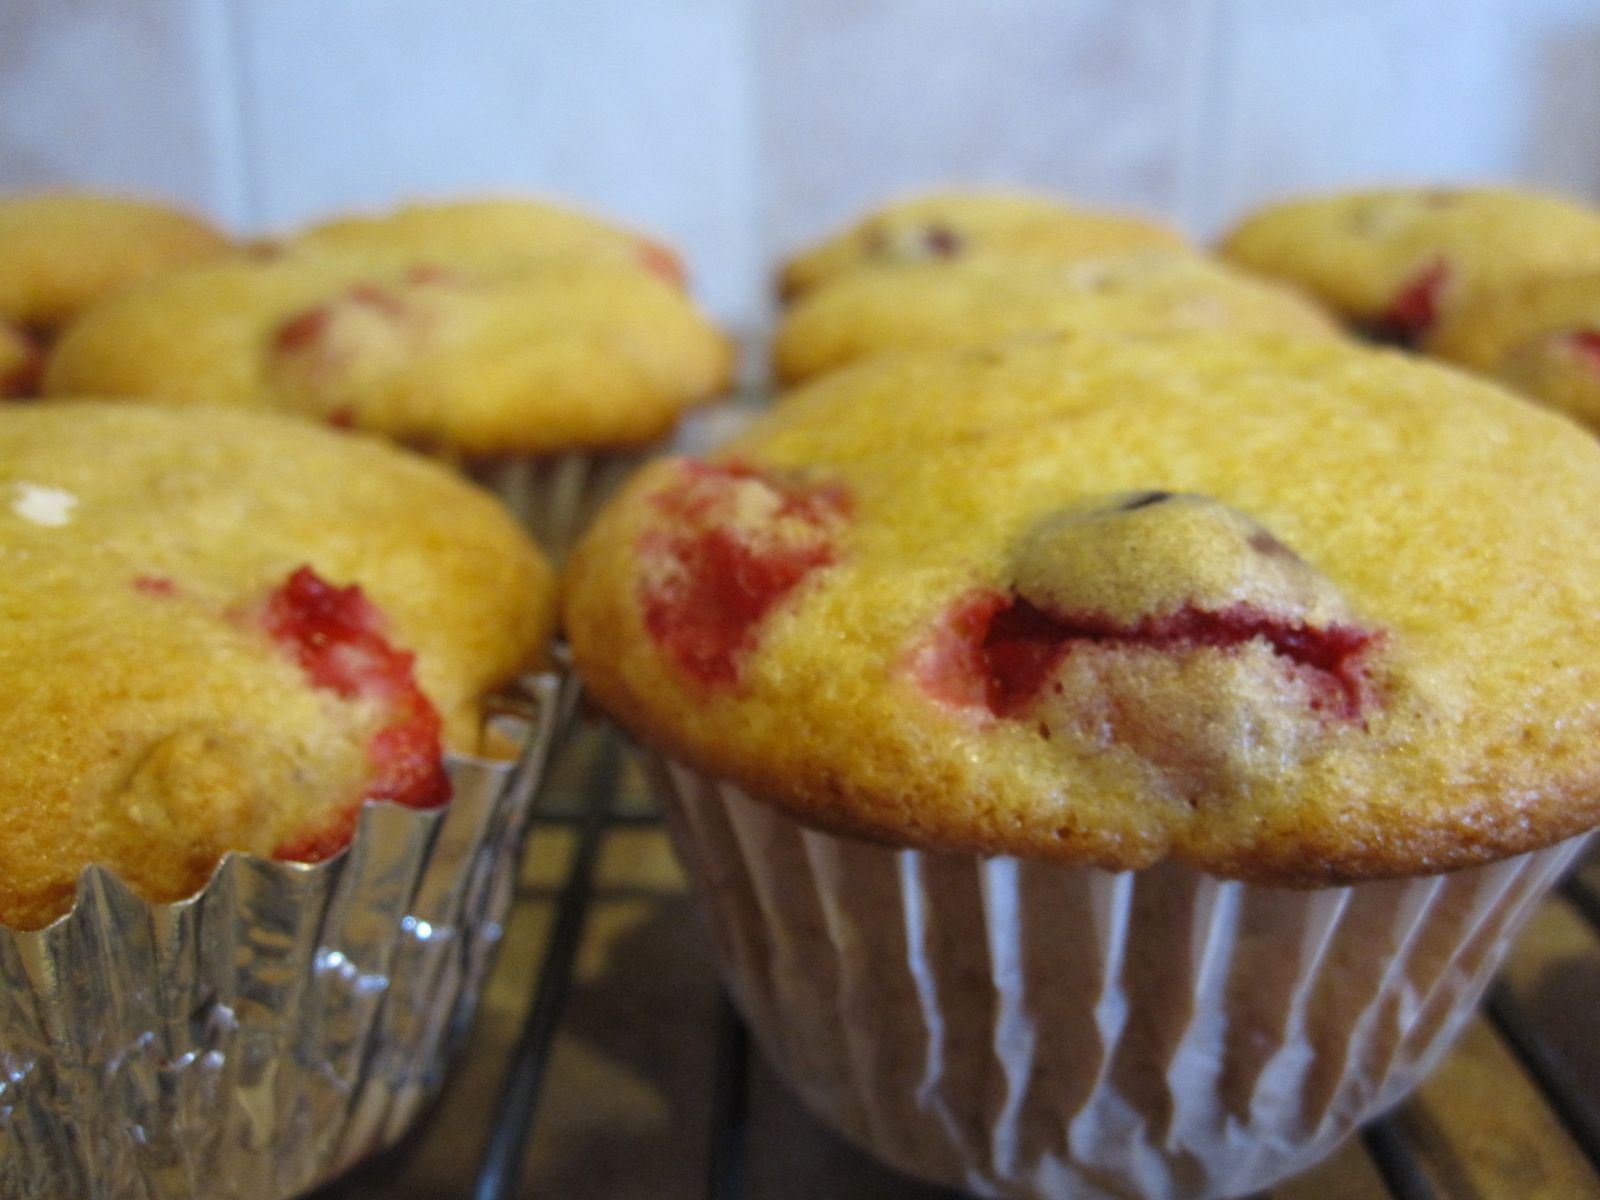
Muffins travel well and are a fun little treat to receive.

But then, I also enjoy slicing into a little loaf and am sure others do, too.

There definitely wasn't enough dough left for my larger loaf pan, so I got crazy and pulled out a little round cake pan.

Then I popped them all in the oven and set the timer for 30 minutes. The muffins were done in 22 and perfect.
I took the round cake pan out after 30 minutes and it looks good, if a bit brown on top.

I pulled the little loaves out after about 40 minutes, misreading my usually-trusty toothpick tester. They look done, don't they?

But I just wasn't sure, and then they started to cave in, and I just knew. They weren't really done. It was a falsified reading on the toothpick.

It just got worse when I removed it from the pan.

It tastes great, but there's no way I'm giving this as a gift. Our friends wouldn't know whether to graciously accept or laugh and graciously decline.

Still, from this angle it's pretty gorgeous.
The Lesson: Bake until it's really done.
No comments:
Post a Comment